Like Button
forms
Forms are an essential part of dynamic web applications, since they let users make actual changes to the database. Previously we used a gem to generate admin forms, but now we're going to let ordinary users make changes. This means we need to make sure that the user is who they claim to be, but luckily Rails helps take care of that for us.
Our form will actually just be a simple button to let users like specific products. Later, you can learn more about the different kinds of form helpers Rails provides.
like action
Let's create a button for liking products. What controller and action should we use for liking products?
When a user likes a product, a like record is created. To follow standard Rails practice, we should use a likes_controller with a method create in it which will be used for liking products. Go ahead and generate the likes controller:
rails generate controller Likes
Now we need to create a create route:
resources :likes, only: :create
This creates a standard create route. We're going to pass the create action a parameter :product_id for the id of the product to like. Can you setup the create action so it likes the specified product?
class LikesController < ApplicationController

    def create
        product = Product.find(params[:product_id])
        current_user.like(product)
        redirect_to :back
    end

end
This create action does a few things:
- Finds the product
- Likes the product, using the
likemethod you wrote - redirects the visitor to a different controller action. In this case, it redirects_to
:back, which is whatever page they came from.
like button
Now that the controller is all set up, we can create the like button form. Rails provides helpers to make it easier to generate the HTML for forms and make them secure. As shown in the Rails Form Guide, the simplest form consists of the following:
<%= form_tag do %>
   Form contents
<% end %>
Add this code to your product show page, and then inspect it in your browser to see the HTML it created.
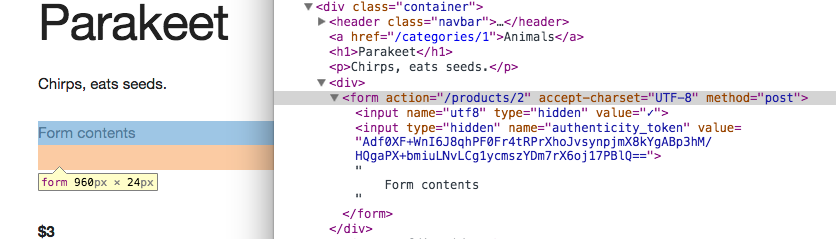
Even though you didn't add any fields to your form, Rails automatically added some hidden fields to configure and secure your form.
Now let's setup the actual form to let a user like a product. The first step is to specify the path of the likes create action. You created a route with the Rails resource shortcut, so open up rails/info/routes to see what path rails made for likes#create:
likes_path POST /likes(.:format) likes#create
You can ignore the (.:format), so the path is simply "/likes". Add it to your form:
<%= form_tag "/likes" do %>
   Form contents
<% end %>
Your form will now be submitted to the right place! Next, let's get it to submit the right data. The controller action needs to know the product that the user likes, so let's pass that information through a form field. Rails provides many different helper tags for creating form fields. In this case, we don't need to display the field to the user, so we'll use the hidden_field_tag. Add the following code inside your form:
<%= hidden_field_tag :product_id, @product.id %>
We pass the hidden_field two things to specify what HTTP parameter the field will submit:
:product_id- this specifies the name of the HTTP parameter@product.id- this specifies the value of the HTTP parameter
Finally, we need to add the actual button for the user to click on. This is done with the Rails submit_tag helper:
<%= submit_tag %>
Here's your complete form, which should now work!
<%= form_tag "/likes" do %>
    <%= hidden_field_tag :product_id, @product.id %>
    <%= submit_tag  %>
<% end %>
Go to a product page that you didn't yet like and click on your button. Then visit my_page to see if the product has been added to your likes.
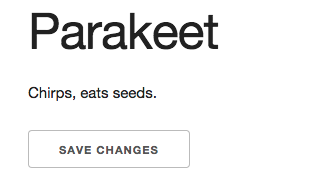
Adjusting the Look
The default text for this button is "Save Changes" which doesn't really make sense. You can pass in text to submit_tag to change the text. While we're at it, let's add a skeleton CSS class to make the button look nicer:
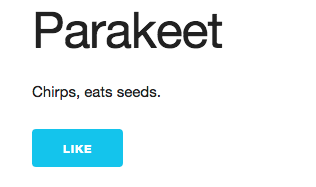
<%= submit_tag "Like", class: "button-primary" %>
Here's a proper button:
Signed-in users can now like any product on your site. Now we just need to let them unlike products...