Setting up Devise and Users
Setting up Devise
Once the Devise gem is installed, you can use it in your app. The first step is to run the Devise generator in the terminal:
rails generate devise:install
create  config/initializers/devise.rb
create  config/locales/devise.en.yml
As you can see, this creates two files. devise.rb contains configuration options, but we'll leave it as is for now. Devise displays some additional steps for setting things up, but you don't need to do everything it mentions. Let's go through the steps:
Some setup you must do manually if you haven't yet:

  1. Ensure you have defined default url options in your environments files. Here
     is an example of default_url_options appropriate for a development environment
     in config/environments/development.rb:

       config.action_mailer.default_url_options = { host: 'localhost', port: 3000 }

     In production, :host should be set to the actual host of your application.
This step is for sending email, but we'll ignore it for now. Later, you'll want to configure it correctly so your app sends email from the right domain.
2. Ensure you have defined root_url to *something* in your config/routes.rb.
     For example:

       root to: "home#index"
You already set a root URL in routes, so you don't need to do anything now.
3. Ensure you have flash messages in app/views/layouts/application.html.erb.
     For example:

       <p class="notice"><%= notice %></p>
       <p  class="alert"><%= alert %></p>
Flash Messages
After a user successfully submits in a form, your site should display a one-time message to the user to tell them that their form was accepted. If there was an error with their form, the site should display the error information.
In Rails, these messages can be stored in a special hash called flash. Devise stores such information in two hash variables called notice and message. Let's set up code to display these variables on a page when needed. Go ahead and add the code Devise suggested above yield, so the messages are displayed above the page's content:
app/views/layouts/application.html.erb
<body>
<div class="container">

  <%= render 'layouts/header' %>

  <p class="notice"><%= notice %></p>
  <p  class="alert"><%= alert %></p>

  <%= yield %>

</div>
</body>
Later we'll add some CSS to mark each message. Devise also mentioned two other steps, but you can ignore them for now:
4. If you are deploying on Heroku with Rails 3.2 only, you may want to set:

       config.assets.initialize_on_precompile = false

     On config/application.rb forcing your application to not access the DB
     or load models when precompiling your assets.
You're using Rails 4+, so you don't need to worry about this.
5. You can copy Devise views (for customization) to your app by running:

       rails g devise:views
As long as you're OK with the default Views that Devise provides, you don't need to bother with creating different ones.
Creating Users
Now that Devise is configured, it's time to create Users. Without Devise, you could create a User model in the standard manner, with rails generate model User followed by the columns you want. However, Devise provides its own generator to create a User model with the necessary columns, configure it, and create routes to point to the Devise controller. Let's go ahead and use the Devise way:
rails generate devise user
invoke  active_record
      create    db/migrate/20150326171346_devise_create_users.rb
      create    app/models/user.rb
      invoke    test_unit
      create      test/models/user_test.rb
      create      test/fixtures/users.yml
      insert    app/models/user.rb
       route  devise_for :users
You can now open up the migration file that was just created to see what columns will be created for User. Devise has different options and columns that depend on what capabilities you want in the User model. For now, let's leave the defaults in place and run the migration command to create the User database table:
rake db:migrate
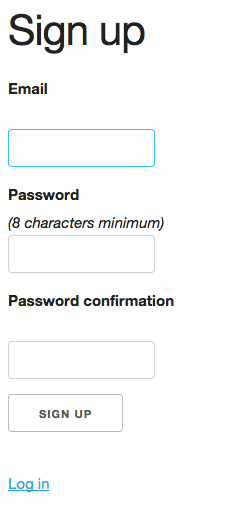
Users can now register and sign in to your site! Restart your rails server and navigate to /users/sign_up to sign up for your site!